Laminate Flooring and Bathroom Environments

While laminate flooring offers a stylish and affordable option for many rooms, its use in bathrooms presents unique challenges. Unlike tile or vinyl, laminate flooring is not designed for constant exposure to moisture, which can lead to warping, swelling, and even mold growth.
Potential Risks of Moisture Damage
The primary concern with laminate flooring in bathrooms is the potential for water damage. Laminate flooring is typically constructed with a core of fiberboard or particleboard, which can absorb moisture. When exposed to prolonged or excessive moisture, this core can expand, leading to warping, buckling, and even delamination of the flooring.
- Spills and Leaks: Even small spills or leaks can penetrate the surface of laminate flooring and reach the core. If not addressed promptly, these can cause significant damage.
- Steam and Humidity: The high humidity levels typical in bathrooms can also contribute to moisture buildup within the flooring, particularly if there is inadequate ventilation. This can lead to gradual deterioration over time.
- Shower and Tub Splashes: Frequent splashing from showers or tubs can expose the laminate flooring to moisture, particularly near the edges of the flooring. This can lead to warping or swelling in these areas.
Durability Comparison
While laminate flooring can offer a more budget-friendly option compared to other bathroom flooring options, it often falls short in terms of durability and moisture resistance.
- Tile: Ceramic or porcelain tile is highly durable and moisture-resistant, making it a popular choice for bathrooms. It can withstand heavy foot traffic, resist scratches and stains, and is easy to clean. However, tile can be cold to the touch and may be more expensive than laminate flooring.
- Vinyl: Vinyl flooring is also a good option for bathrooms, as it is waterproof and relatively inexpensive. It is available in a wide variety of styles and colors, and is relatively easy to install. However, vinyl flooring can be less durable than tile and may not be as aesthetically appealing.
- Luxury Vinyl Plank (LVP): LVP is a newer flooring option that offers the look of wood or tile, but with the durability and water resistance of vinyl. It is a good option for bathrooms, but it can be more expensive than laminate flooring.
Factors to Consider Before Installation
:max_bytes(150000):strip_icc()/how-to-lay-laminate-flooring-1822250-01-0b84ff37785a4f8b94ab8bd30c300bfb.jpg)
Installing laminate flooring in a bathroom requires careful consideration of various factors to ensure its longevity and performance. This section delves into the key aspects to assess before embarking on the installation process.
Choosing the Right Laminate Flooring
The suitability of laminate flooring for bathroom installations hinges on selecting a type specifically designed for moisture-resistant environments. While standard laminate flooring can be susceptible to water damage, specialized options offer enhanced protection.
- Water-resistant core: This type of laminate flooring features a core constructed from materials like high-density fiberboard (HDF) or waterproof composite materials, providing resistance to moisture penetration.
- Sealed edges: The edges of water-resistant laminate flooring are typically sealed to prevent water from seeping in and causing damage.
- Protective coatings: These coatings act as a barrier against moisture and stains, further enhancing the flooring’s durability.
Checklist for Bathroom Installation
Prior to installing laminate flooring in a bathroom, a comprehensive checklist ensures that all necessary considerations are addressed. This checklist includes:
- Subfloor condition: The subfloor must be level, smooth, and free from any cracks or gaps. Unevenness can lead to uneven flooring and potential damage.
- Moisture barrier: A moisture barrier is essential to prevent moisture from penetrating the subfloor and damaging the laminate flooring.
- Proper ventilation: Adequate ventilation is crucial to prevent moisture buildup, which can lead to mold growth and damage to the flooring.
- Drainage: Proper drainage is essential to prevent water from pooling on the floor, which can damage the laminate flooring.
- Shower enclosure: Ensure the shower enclosure is properly sealed to prevent water from leaking onto the floor.
- Proper installation: Professional installation is recommended for laminate flooring in a bathroom, as it requires specialized knowledge and techniques.
Ventilation and Drainage
- Ventilation: Adequate ventilation helps to remove moisture from the bathroom, preventing condensation and mold growth. This can be achieved through exhaust fans, windows, or other ventilation systems.
- Drainage: Proper drainage is crucial to prevent water from accumulating on the floor, which can damage the laminate flooring. This includes ensuring that the shower drain is functioning correctly and that there is a slight slope in the floor to facilitate drainage.
Installation Techniques and Best Practices: Can Laminate Flooring Be Installed In A Bathroom

Installing laminate flooring in a bathroom requires careful planning and execution to ensure its longevity and prevent water damage. This section will provide a step-by-step guide for installation, emphasizing the use of moisture barriers and sealant, and offering layout suggestions for bathroom laminate flooring.
Preparation and Subfloor
Before installation, ensure the subfloor is clean, dry, and level. Uneven subfloors can lead to uneven flooring and potential damage. Any imperfections should be addressed with leveling compound or shims. The subfloor should also be free of any debris, dirt, or dust.
Moisture Barrier, Can laminate flooring be installed in a bathroom
A moisture barrier is crucial in a bathroom environment to prevent water from penetrating the subfloor and damaging the laminate flooring. A 6-mil polyethylene sheet is commonly used, laid over the subfloor, ensuring all seams overlap by at least 6 inches. The moisture barrier should extend up the walls by at least 4 inches to create a complete seal.
Installing the First Row
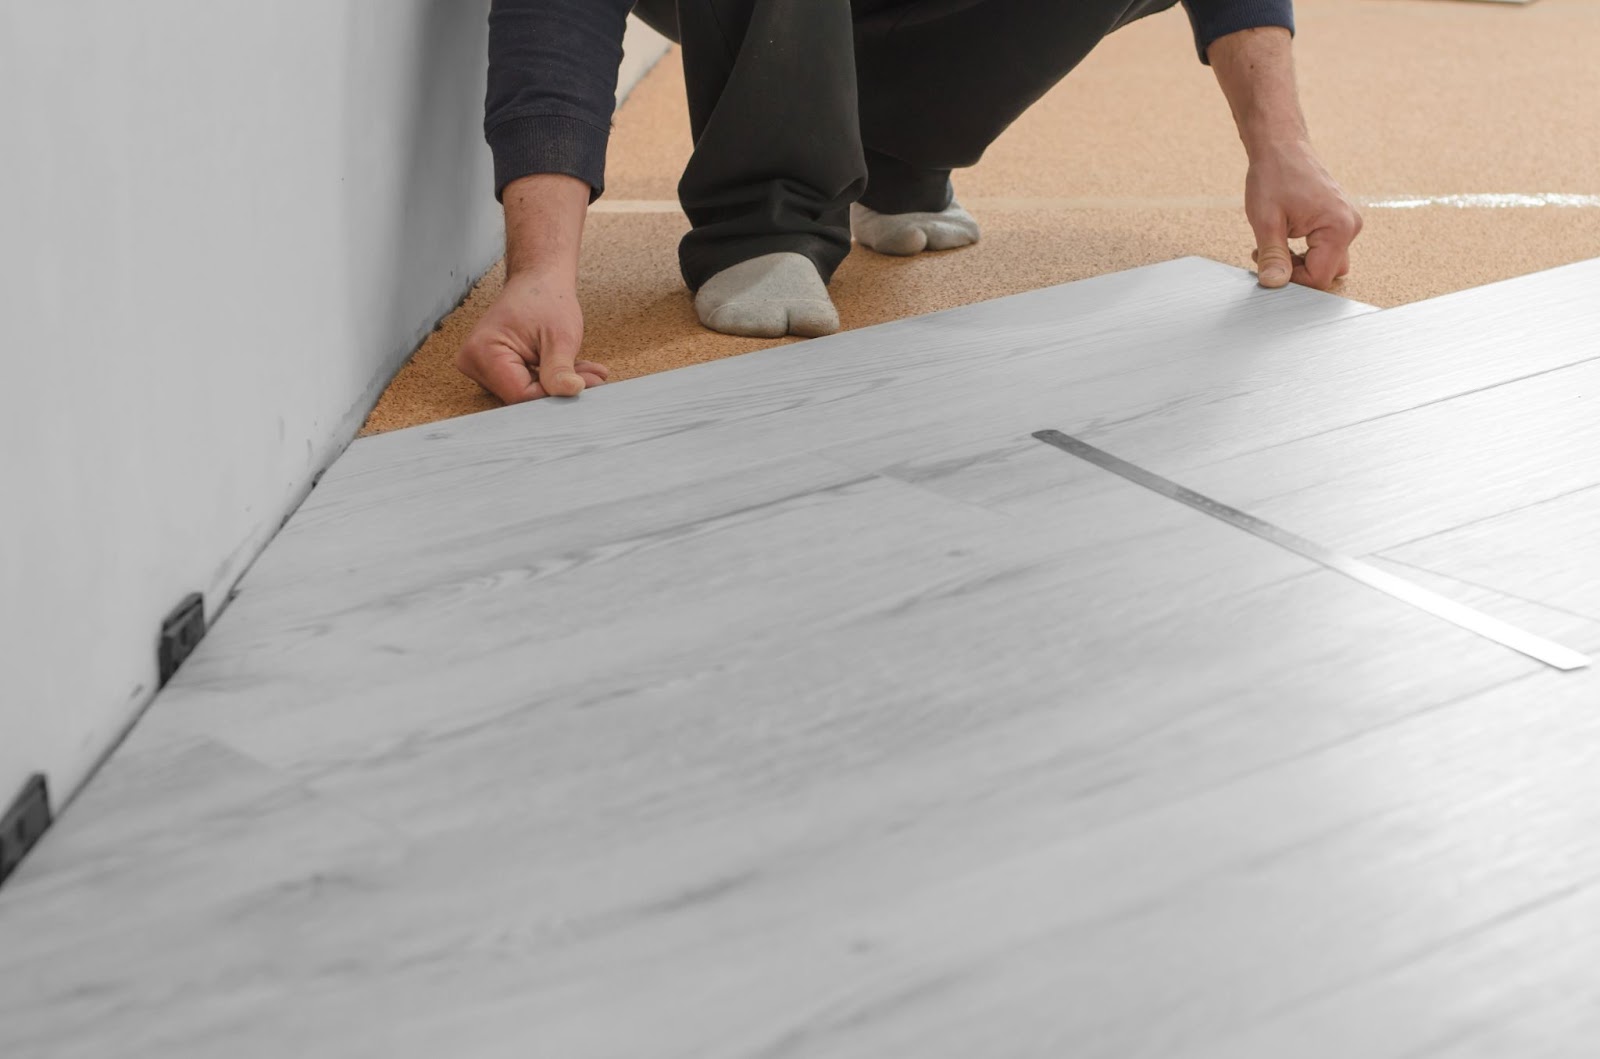
Start by laying the first row of laminate planks against the longest wall, ensuring they are flush with the wall. Use a spacer to maintain a consistent gap between the planks and the wall, allowing for expansion and contraction due to humidity changes.
Securing the Planks
Laminate planks are typically secured using a click-and-lock system. Each plank is carefully clicked into place with the previous one, creating a tight, interlocking connection. A tapping block can be used to ensure a secure fit and avoid damaging the planks.
Cutting and Fitting
For areas around fixtures or corners, planks may need to be cut to size. A sharp utility knife or a circular saw can be used for cutting, ensuring clean, precise cuts. For intricate cuts, a jigsaw may be more suitable.
Transitions and Edges
Transitions between different flooring materials, such as tile or carpet, can be achieved using transition strips or molding. These strips are designed to cover the edges of the laminate flooring and create a smooth transition.
Sealant
Once the laminate flooring is installed, it is essential to seal the edges and gaps with a high-quality silicone sealant. This helps prevent water from seeping into the gaps and damaging the planks. Apply a thin bead of sealant along the edges of the flooring, ensuring a smooth, continuous seal.
Layout Design
The layout of bathroom laminate flooring can significantly impact its aesthetic appeal. Consider the following layout options:
- Diagonal Layout: This layout creates a dynamic look, especially in smaller bathrooms, and can help disguise any imperfections in the subfloor.
- Herringbone Layout: This intricate pattern adds visual interest and sophistication to the bathroom space.
- Straight Layout: This traditional layout is simple to install and creates a clean, minimalist look.
